I understand the thinking – wouldn’t it be more comfortable to just put a standard house toilet in my RV. But should you replace an RV toilet with a house toilet?
Unfortunately it’s never a good idea to replace an RV toilet with a house toilet in your RV. There are many reasons not to do so. The main ones being the ceramic material, the flushing mechanism, the spatial disparity and the water usage.
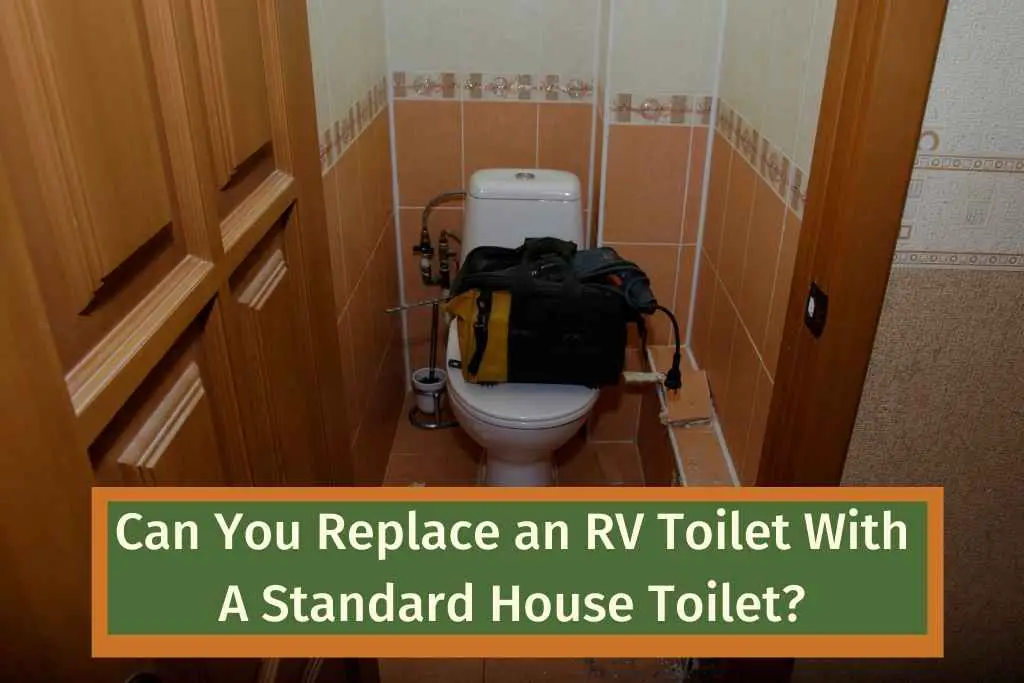
Can You Replace an RV Toilet With A House Toilet?
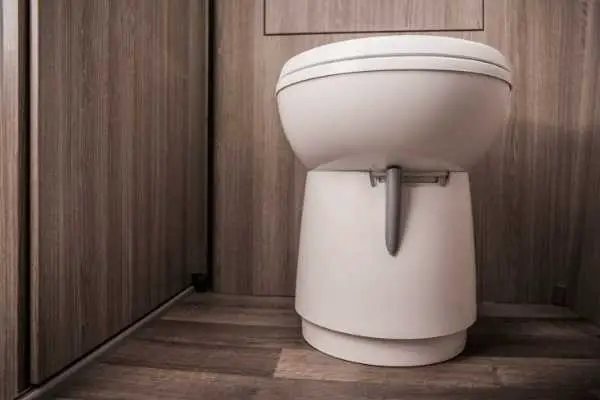
RV toilets are usually made from plastic, because it’s lightweight and tough. House toilets are ceramic which is heavy and brittle but easier to clean.
The ceramic material that residential toilets are made out of is brittle and not designed to move. Therefore it will not stand up to the bumby life that’s part of RVing and can easily break.
The toilets also have different fitting mechanisms, as you can imagine a standard toilet shouldn’t move, so it only has two bolts securing it to your bathroom floor.
Whereas an RV toilet is lighter and secured in place more. An RV toilet will need a more secure fitting as it travels up to 70mph on the highway. This also leads us onto another point – water usage.
RV toilets are designed not to have any water in the bowl, as you can imagine it would get messy if you had to brake suddenly or hit a speed bump too hard. If you had a house toilet in your RV or camper that would not be pretty.
The plumbing is also completely different, as a residential toilet is designed to go straight to the sewer and an RV toilet’s waste goes straight to the black tank.
There’s also the smell, RV toilets know that the waste is being contained in the holding tank so have mechanisms to close that area away. A house toilet doesn’t have that problem so will just leave it wide open with no physical barrier.
RV toilets also use way less water, which helps to keep fuel costs down and conserve water if you’re boondocking. RV toilets use on average half a gallon per flush vs. 5 gallons with a standard toilet.
It would only take 8 flushes for a standard toilet to use up a 40 gallon water tank, not to mention the other end. You’ll spend all your trip at the dumping station emptying the tanks.
I know it would be more comfortable and like a home away from home but trust me it’s not a good idea to install a house toilet in your RV.
Other RV Toilet Questions:
How do you replace a Dometic RV toilet?
Dometic RV toilets are one of the most popular RV toilet brands, and will last you for years if installed properly.
If you are replacing a dometic RV toilet for another Dometic one then the process is really simple. Even if you are installing a Dometic toilet for the first time, it’s straightforward. Follow these simple steps:
1. Turn off the water supply to the toilet.
2. Remove and drain the water supply line, this is the clean water going into your RV toilet.
3. Remove the bolts holding the toilet in place (you’ll need a spanner for this), once the bolts are removed you can remove the old toilet from the RV.
4. Replace the old toilet floor flange seal with a new one, make sure that there is enough room for your new Dometic toilet at this point. The space needed is usually 10 inches from the wall to the centre of the floor flange seal.
5. Make sure that the new floor flange seal is clean and has no debris or sealant on it.
6. Insert the two supplied T bolts into the slots on the floor flange.
7. Check that the seal is installed correctly on the base of the toilet so it can create a watertight seal with the floor flange.
8. Now carefully place the new Dometic RV toilet over the floor flange making sure that the T bolts are aligned and got through the holes on the toilet base.
9. Note that the toilet base will not be completely on the floor at this point.
10. Install the floor mounting nuts and washers to the T bolt and carefully tighten *DO NOT OVER TIGHTEN THESE* Alternate between the sides when tightening to prevent the toilet from being uneven.
11. When tight the toilet should be sitting perfectly on the RV floor, you can then put the bolt covers on.
12. Connect the water supply line and turn the water back on.
13. Flush the toilet a few times and check for any leaks.
How much water does it take to flush an RV toilet?
There are many different types of RV toilets, from compostable and portable and just as many different flushing mechanisms.
For simplicity I’ll base this on the most common type of RV toilet which is a gravity flush.
Most gravity RV toilets use between two quart to half a gallon of water per flush.
However, they also usually have a foot pedal that when pressed fully gives a full flush but if pressed partially gives a lesser flush. So you can control how much water is going into the bowl.
I have a rule in my RV to never use a full flush for a number 1 but always for a number 2. This saves a massive amount of water.
If you are dry camping, you can collect rain water to use to flush the toilet. Or if you are camping off grid regularly you could get a composting or vacuum toilet.
Vacuum toilets use much less water per flush at about half a quart. This is because they use the air to help clear the bowl, just like a plane toilet.
Should you keep water in the RV toilet?
No, you shouldn’t keep water in the bowl of your RV toilet.
They are designed to not store any water in the bowl, this saves on the water usage and stops spills when driving.
If you do have water in your RV toilet then this could be a sign of a problem, empty your holding tank immediately as it could be backing up.
Most RV toilet now come with a handheld sprayer so you can clean your toilet bowl effectively if the flush missed the mark (pun intended).
If you don’t have a sprayer you can easily swill a cup of water or a better option is to have a water gun next to the toilet in case of emergencies.
Should you poop in your RV?
Absolutely! Of course you can poop in an RV toilet. That’s what they are designed for.
There is an RV poop etiquette though if you are new to this.
Fill the bowl with water before you take a seat. Press the pedal of the leaver partially to put a few inches of water into the toilet bowl, this will help to keep the bowl clean and help everything go down. *warning* There may be splashback because of the small bowl.
Only poop and toilet paper in the toilet. Some people only allow poop, check for a toilet paper bin next to the toilet or ask if in doubt.
Use a full flush. A number 2 is the only time I allow a full flush in my RV for obvious reasons.
Clean the bowl. Use the hand sprayer to clean the bowl, alternatively you can use a cup of water or a water gun if available.
Open a window – need I say more?
Follow these rules and you’ll be the perfect guest.
Make sure that you empty your holding tank regularly to keep the whole sewage system in your RV running and prevent blockages.
Why does my RV toilet smell like urine?
Sometimes you can do everything to keep your RV sewer system clean but inevitably it can start to smell.
If your RV toilet smells like urine then it’s likely that the toilet bowl has urine on it. Especially if you don’t flush for number 1’s. Even if you do flush sometimes the water saving flushing can leave some areas of the bowl with urine on it.
Luckily it’s easy enough to fix, simply use a bathroom cleaner and spray into the bowl every day. Or make sure that the hand sprayer is used to give the bowl a good rinse after urinating.
If the smell is just urine then it’s unlikely that there is a problem with the black tank, as that would be a very different smell.
If you do think that there is a problem with your holding tank then an RV holding tank treatment should be used. This will dissolve the paper and waste and remove any blockages so that it can be emptied effectively.
Always have an air freshener in your RV bathroom, to keep smells at bay.
I hope this article has answered your most pressing RV toilet questions, but if you have any more please get in touch.
Happy pooping 🙂
