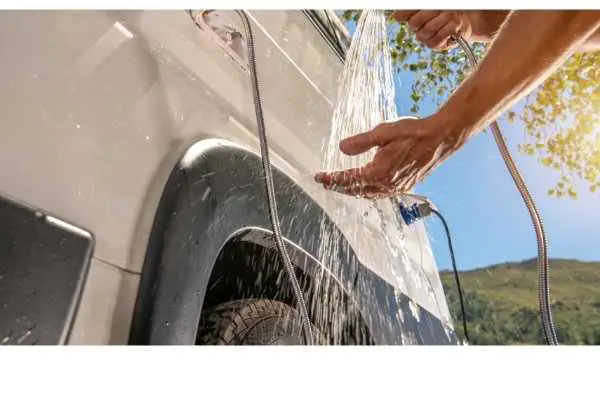
RVs are expensive, and understandably so. It is also likely one of the most valuable assets you own. So you want to protect it where possible, which means you will want to know how to waterproof RV shower walls.
That’s what can make it so distressing when you step into your RV and find that it’s instead transformed into an unwanted mini-pool due to a water leak.
This may have come from your onboard sink or a water tank.
It might have instead come from your bathroom – in which case, you probably have a none-too-pleasant odor on your hands as well.
Either way, it’s clear that you need to do everything in your power to plug the leak and repair the plumbing issue as quickly as possible.
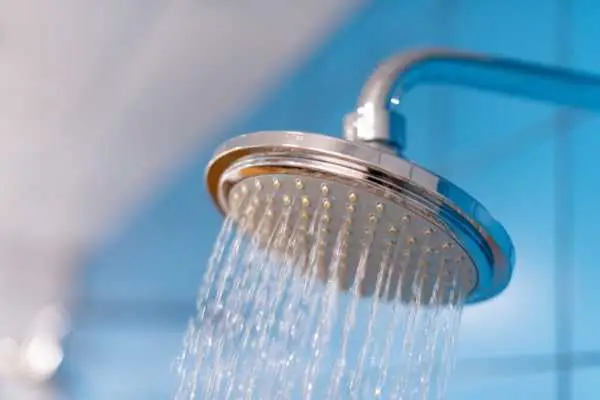
One of the most common causes of water leaks within your RV originates in your bathroom, specifically your shower. In addition to the potential for leaks spreading throughout your RV, an RV shower that has not been waterproofed risks allowing water from outside to seep in, which can likewise cause flooding.
With that in mind, let’s take a closer look at how to waterproof your RV shower walls.
How to Waterproof RV Shower Walls
1. Gather Materials
First, you’ll need to get the materials necessary for waterproofing your RV.
- Paint brushes and rollers
- Paint tray
- Waterproof paint
- Waterproof caulk to seal holes
- A roll of painter’s tape
- Protective sheeting or newspaper
There are several possible solutions here that we’ll get into a little later on. For now, you’ll probably want some brushes on hand as well as a waterproof coating. You’ll also want something that can plug up holes, cracks, and other nooks and crannies. In addition, you’ll probably want to have some newspaper on hand to collect any drips and drabs during the process.
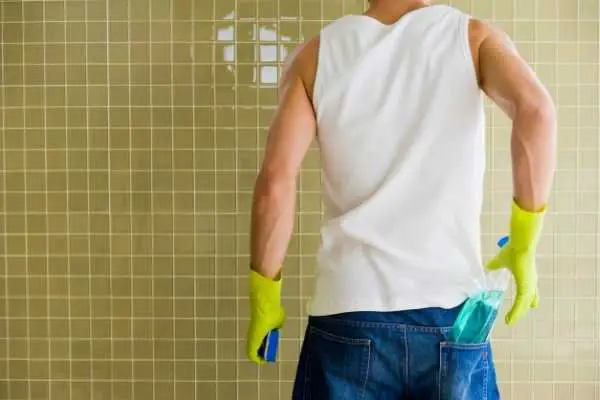
3. Preparing the Area
If you have ever painted a wall or canvas before, you know that it’s typically a good idea to prime the surface before actually painting it. If you are planning on waterproofing your RV with waterproof paint, it’s even more important that you prime the area first.
Clean the shower walls thoroughly and let dry. Use the waterproof caulk to seal any holes and cracks. Put the painters tape along the edges of where you want to paint.
As mentioned above, you should lay down your protective sheeting, newspapers or towels you have before getting started so as to make sure you don’t drip all over the floor or carpet. You’ll also want to make sure to wear old clothes that you don’t mind getting dirty just in case.
4. Begin Waterproofing the Shower
You should not need a ton of paint to waterproof your RV shower walls – a small tub should suffice.
Pour some paint into a painting tray. Stir the paint a bit to make sure that it is even. At the same time, you need to be careful when doing this to avoid splattering the shower and surrounding area.
Once everything has been sufficiently mixed, go ahead and dip your roller in the paint and start to get it thick with the mixture. Apply it to the shower and any other surfaces you may be treating in smooth, sweeping motions.
Some parts of your shower are likely to feature corners, cracks, or crevices that are too narrow to be adequately treated by rollers. In this case, you’ll want to use a brush instead.
4. Apply a Second Coat
As when painting walls in your home, you want to apply two coats of paint. Applying only one can lead to unevenness or the paint chipping and cracking more easily.
Wait for the first coat to dry before applying the second.
Between the two, you should have covered the entire area.
Give the paint at least 24 hours to fully dry before using the shower.
Other Ideas for Waterproofing RV Showers and Walls
While painting shower walls is a pretty common and affordable method of waterproofing your RV shower, there are other ways you can waterproof your RV shower walls instead.
For example, adding acrylic paints and other substances that are waterproof can help prevent water from seeping in.
Additionally, you might want to consider installing an acrylic shower pan beneath your shower faucet and shower head. This can help catch the water and make sure that water doesn’t splash out and seep everywhere.
What’s more, acrylic shower pans can add a bit more flair to your shower area by giving you another aesthetic feature to play with. For example, you might consider attaching it to the shower’s sliding glass door.
An alternative and far more widely adopted idea is to install modern wall panels and glass that feature high gloss sheens. Not only does this sheen add a bit more of a chic brightness to such shower spaces, but it can also help make them waterproof. What’s more, unlike paint, they do not crack, scratch, or fade easily. As such, this kind of investment can keep your shower waterproof while lasting longer and, thus, costing less over the long haul by cutting down on refurbishment costs, even if it means a bigger upfront investment.
You might also want to consider installing other things that can be waterproof.
For example, you could install plastic-like coverings on your shower walls or the surrounding area. This can help prevent water from seeping into the walls. This isn’t too thick, which might lead to holes. In that case, you’ll want to look into thicker plastic.
You might want to consider installing waterproof panels. These are good for several reasons, not the least of which being the obvious fact that they are incredibly long lasting compared to some of the other solutions listed here.
Finally, you’ll want to make sure you do everything possible to make sure there are no added causes of leaking in your shower.
For example, you should make sure that there are no screws loose or other loose elements of your plumbing. Naturally, these can cause water to seep through. Additionally, you’ll want to make sure that the RV shower is not peeling off from the wall, or that cracks are not forming. If any of these are the case, you probably have a bigger problem and, thus, a bigger repair project on your hands.
Final Thoughts
There are many potential reasons why your shower may be leaking or why water may be seeping in. Thankfully, there are likewise many potential solutions for fixing the problem.
The most basic is to simply waterproof your RV with waterproof paint. This can help keep water from seeping in or out. That said, you’ll want to make sure to apply the paint carefully so as not to splatter anything, and you may need touch-ups over time.
Additionally, you could try to upgrade your shower with different parts that could make it more waterproof. On the one hand, this could be a longer fix. On the other hand, it will likely be more costly.
Waterproof panels and glass could also do the trick.
The options you choose can say a lot about how you view your RV. It can also be a reflection of your budget or your take on your RV’s interior.
Whatever you choose, it is vital that you waterproof your RV sooner than later, since you don’t want to deal with water damage from a leaky shower.
Thankfully, as demonstrated here, waterproofing your shower can be quick, easy, and affordable.
